QuickVP documentation
Thank you so much for downloading
if want more support feel free to join the Facebook group or the discord.
 https://web.facebook.com/groups/mooncakehelpdesk/
QuickVP Studio is a plugin for Unreal Engine focused on event triggering for Virtual production.
you can use it for multi virtual cam switching, data driven text events triggering, multi event triggering and more.
QuickVP also include a TAA problem workaround (Still in progress) is not perfect but if you are a vanilla Unreal Engine user you will be able to improve the quality of your chroma key.
 https://www.youtube.com/playlist?list=PLX3AjAEnjIVuHnmAUJgoVk0jMGYbsLrAG
Installing
The plugin
When you downloaded the Version of QuickVP that you are going to use, make sure you extract the “QuickVPStudio” folder to your Unreal Engine directory → Engine → Plugins →Marketplace

The Controller
Just double click on the installer of it and it will automatically open
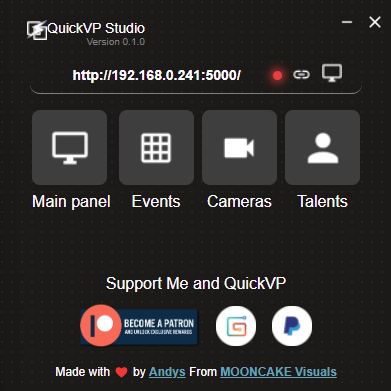
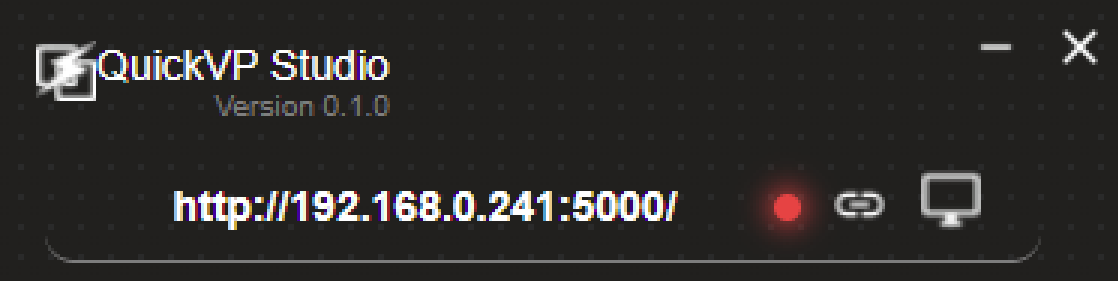
QuickVP Studio Controller
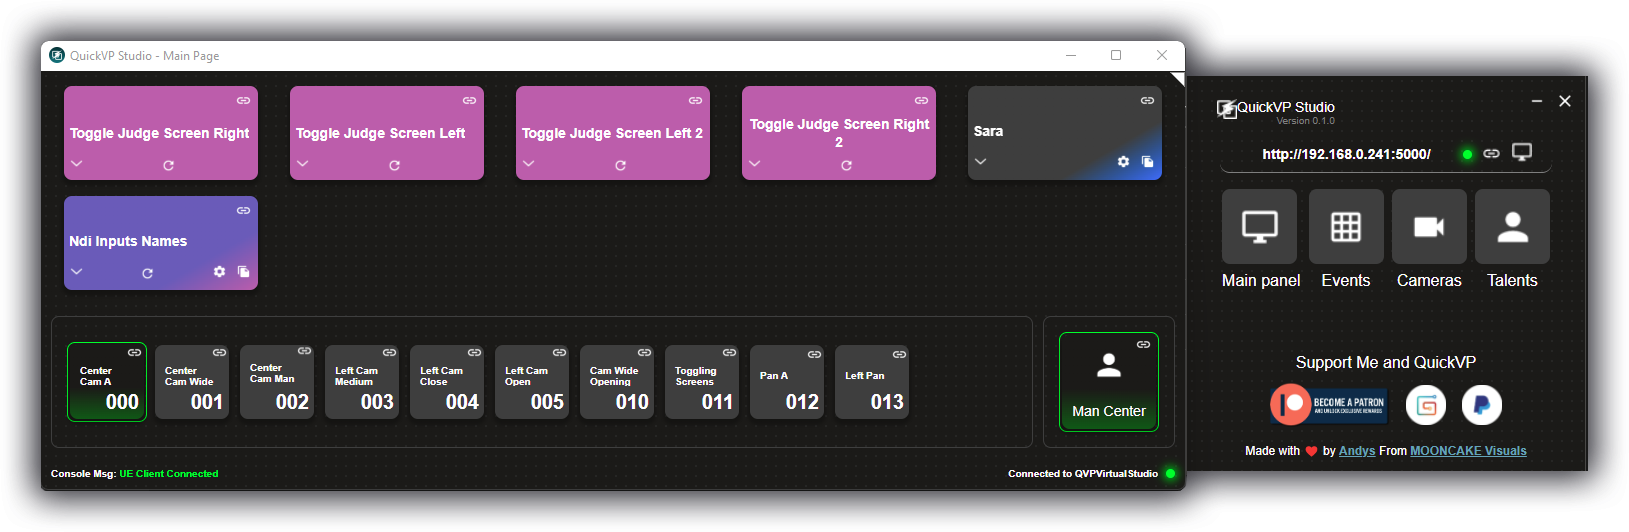
The controller Has the main module that is basically the brain, from it you can open and see the URLs.
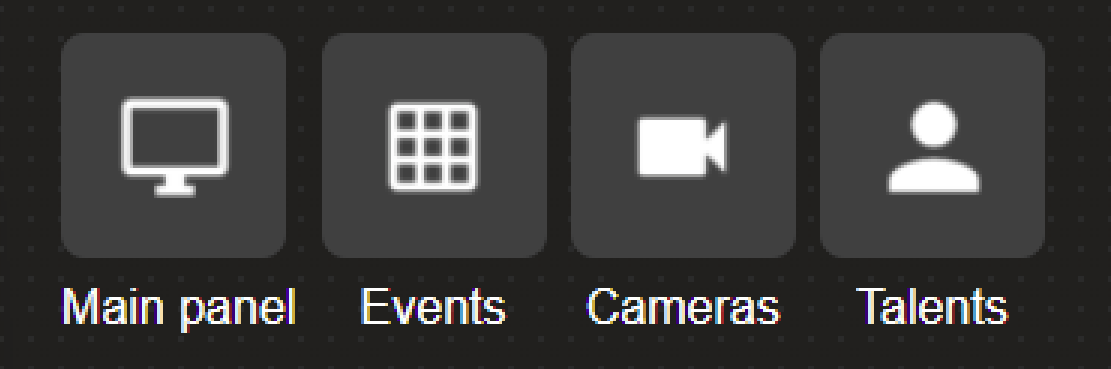
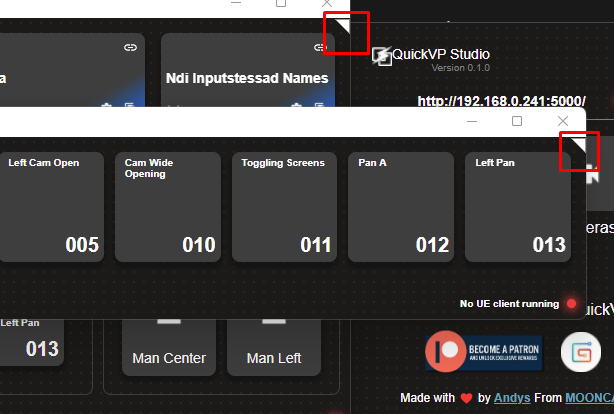
| Main Panel | This is the main panel, from here you will be able to copy different URLs to trigger the buttons using the remote api, also from here you customize the labeling, coloring and the data to send of the Events buttons. | (URL):5000/ |
|---|---|---|
| Events | This URL is used for triggering events from the different devices where the URL is opened - From here you can’t change color labeling or data is just for triggering (so we can avoid clicking by mistake any of those buttons in a device like a mobile phone) | (URL):5000/panel/events |
| Cameras | Same As events panel but for triggering Cameras | (URL):5000/panel/cameras |
| Talents | Same as cameras and events panel but for toggling available talents (if using TAA workaround with the QuickVP camera) | (URL):5000/panel/talents |
Controller Functions
Events
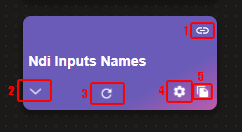
| 1 | Click it To copy the URL of that specific button to the clipboard, Example: http://192.168.0.241:5000/play/xI2HkB format is: (URL):5000/play/(Event ID), the event id is automatically generated |
| 2 | Hover it and you will get the color selector to color the button, the standard buttons has flat colors and the data driven ones have a little gradient. |
| 3 | This button is to remove the selected color and reset it to the default color |
| 4 | Will display the form where you will input the data and set the button Title (Only events with data fields will have it ) |
| 5 | Is used to create a copy of the button so you can modify the data to send but keeping the event to trigger (Only events with data fields will have it ) |
Cameras
Use this button to copy the camera Button URL to the clipboard: Example: http://192.168.0.241:5000/cam/WQ9CLE Format is: (URL)/cam/(Camera ID), The Camera ID is automatically Generated
Talents
Use this button to copy the Talent Button URL to the clipboard: Example: http://192.168.0.241:5000/talent/1 Format is: (URL)/talent/(Talent ID), The TalentID is automatically Generated
Unreal Engine
After you installed the plugin make sure that you enable it by going to Edit Menu → Plugins , in the search box type “QuickVP” and Enable it.

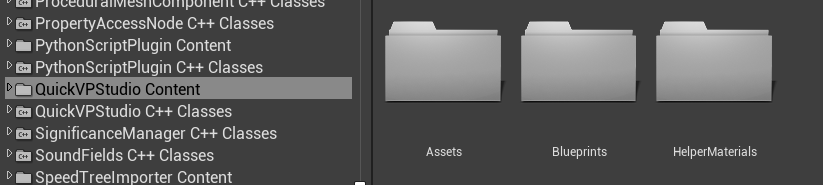
After enable it restart the editor, and you will have access to the quickvp Content in your content browser.
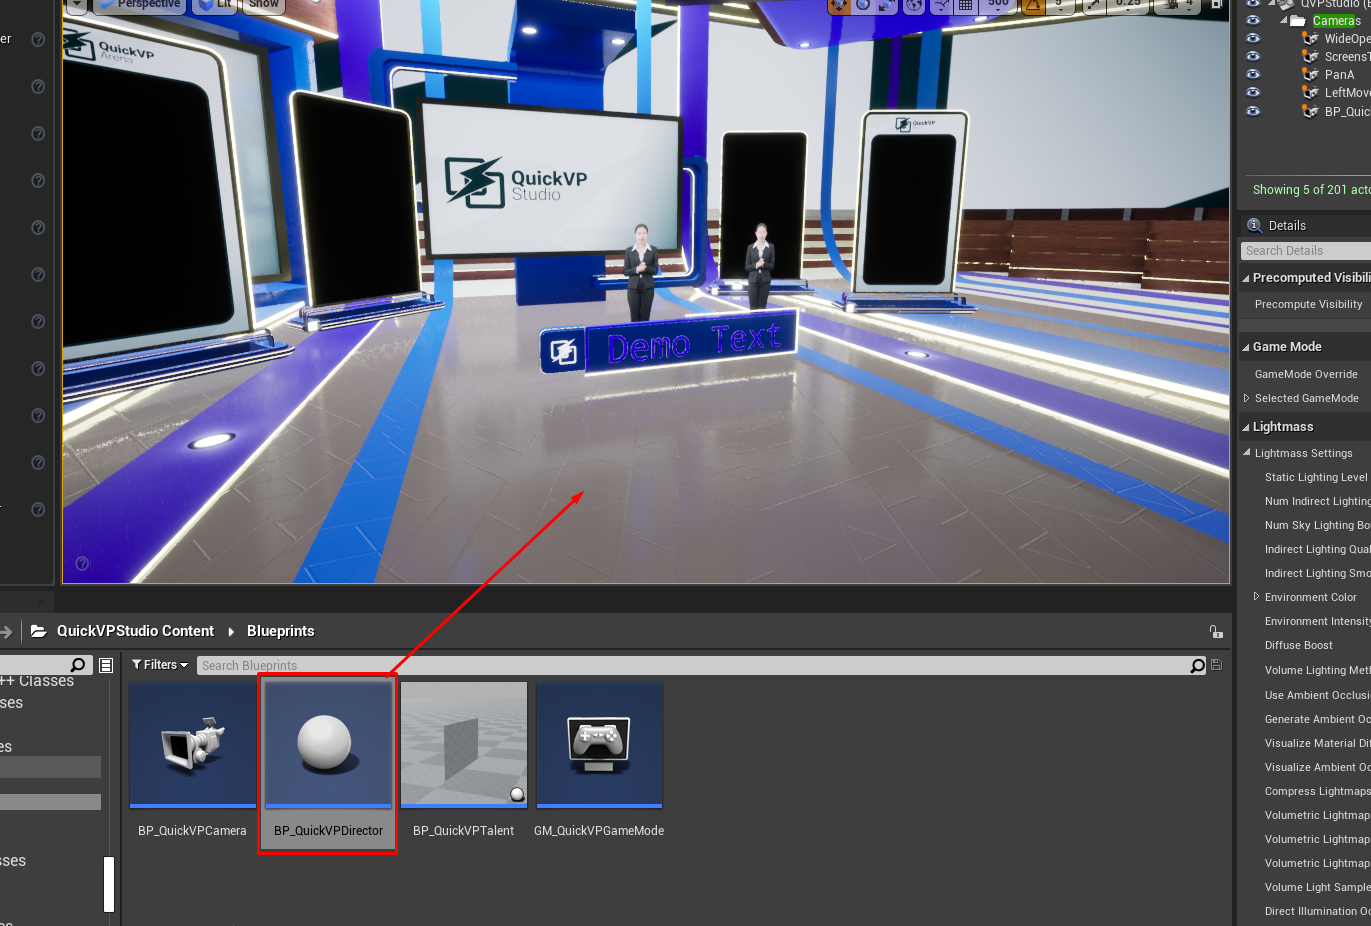
Blueprint
The blueprint folder contains the tools that we are going to use to connect QuickVP and use it
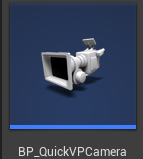
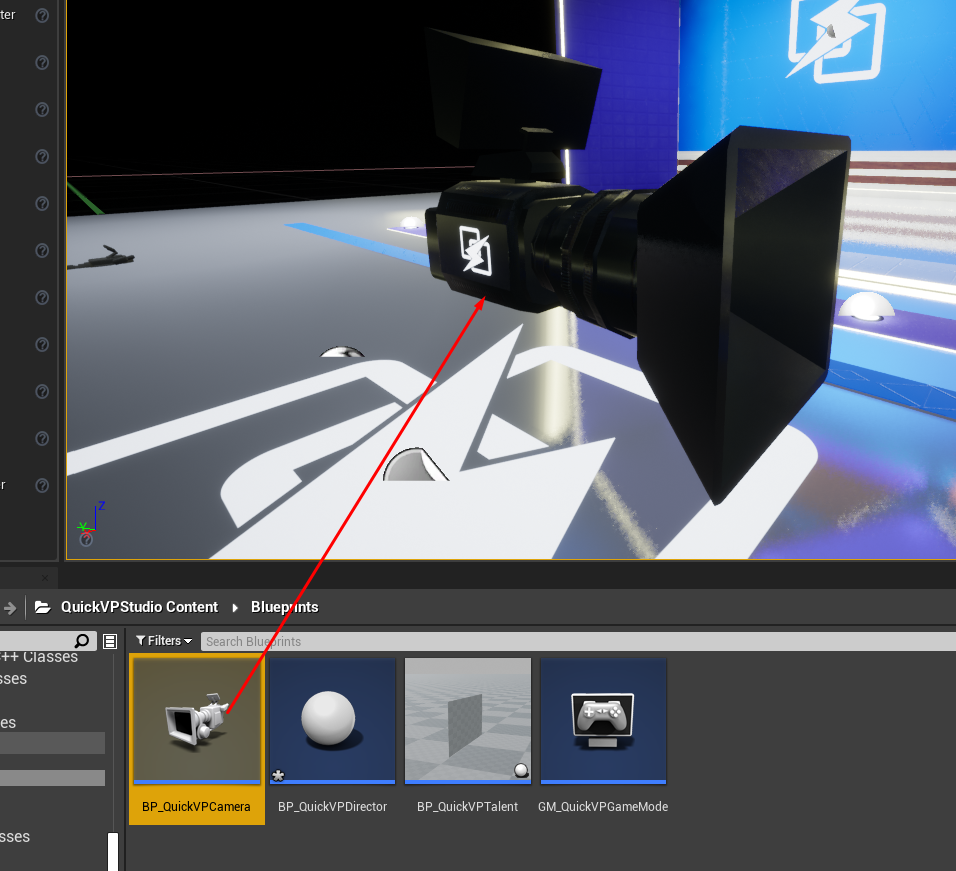
Main camera in charge of the Multi camera workflow in QuickVP Studio and captures to the TAA Workaround
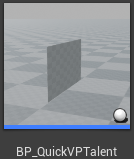
Blueprint used to project the Talent, it has some tools to simplify media playback and the TAA workaround
Brain Of the Game Mode.
Connection Manager to the Controller and Run events from the level Blueprint
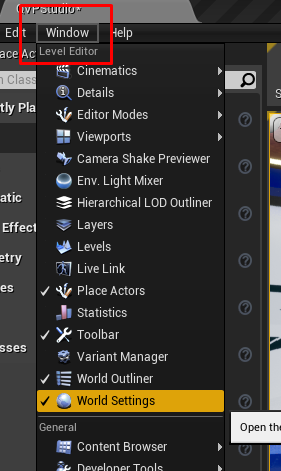
Setting Unreal Engine
You need to set the game mode in GameMode Override in the World settings of the projects and set this to the QuickVPGM or GM_QuickVPGameMode (There is no difference QuickVPGM is the base c++ Class and the other is just a blueprint instance of it in case that you want to do some blueprinting in the Game Mode).

Events
Then we need to drag our QuickVP Director to the level
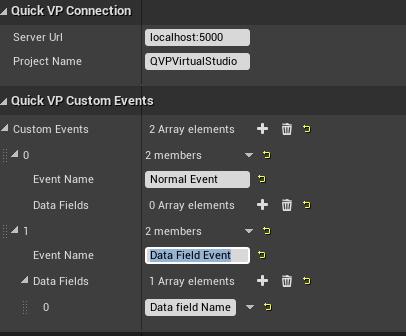
Settings available in the QuickVPDirector blueprint
| Server URL | Is Used to set the URL where the controller is running, for now the port is fixed to 5000, (I'm using localhost because i am running the controller from the same computer) |
|---|---|
| Project Name | To set the name to be used and stored in the controller (if you change this after set the rundown in the controller you can loose all the changes so make sure to set this at the beginning and change it if you are cloning a project ) |
| Custom Events | Use this to trigger and handle events from the level blueprint |
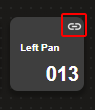
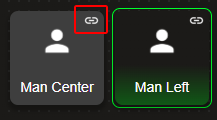
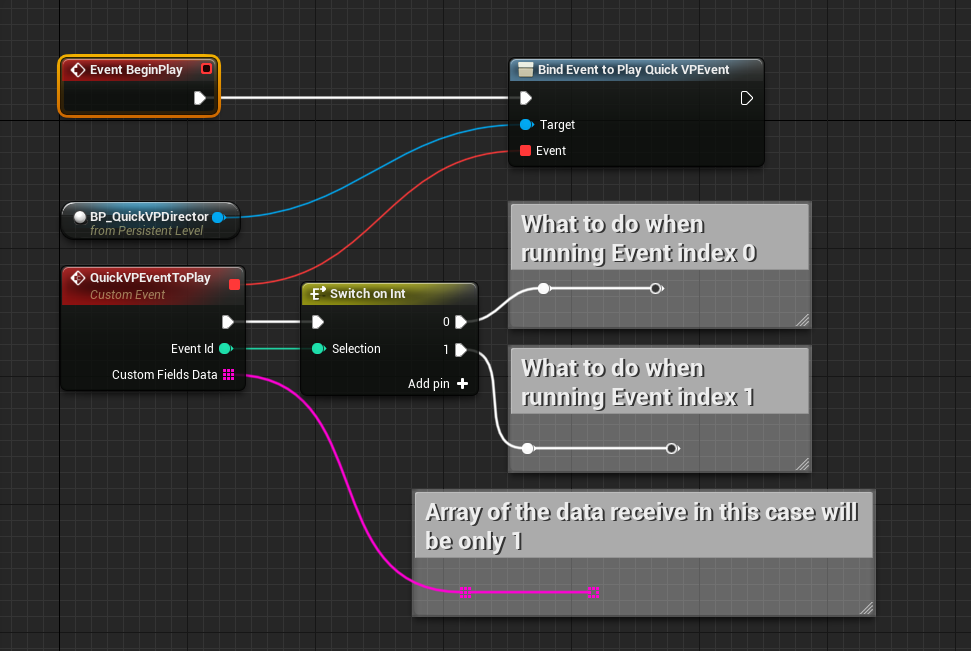
When you hit Play (Alt + P) or simulate the controller will synchronize the events cameras and talents, now you should get 2 buttons.
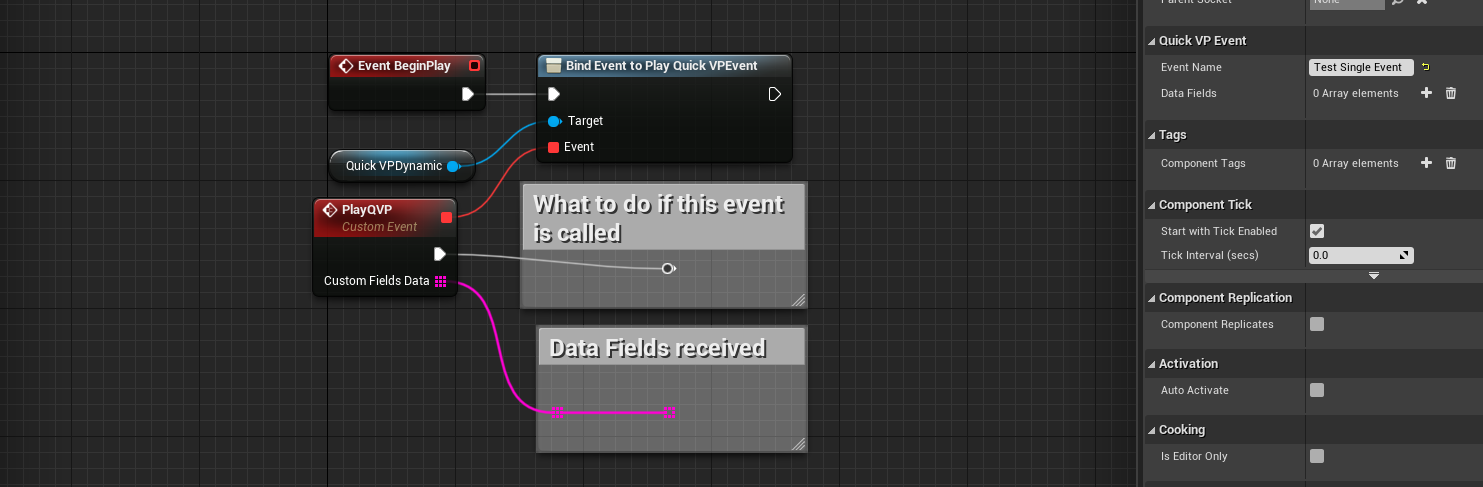
To handle the events from the level blueprint we need to set this from the BeginPlay Event, basically we need to bind the custom event we are going to perform when we run the event.
QuickVP Dynamic Component
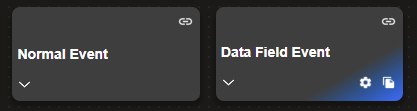
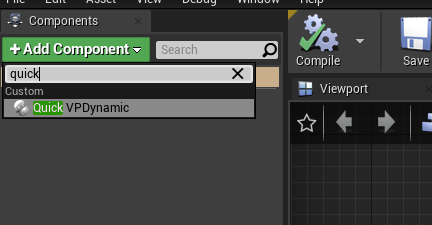
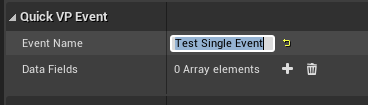
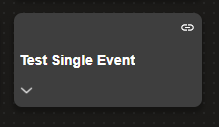
if you want to set the Event from the blueprint actor itself so you can have custom control, you just need to add a “QuickVPDynamic” component to the actor and set the event name from it (if the event has not data field you will not be able to change the label of the button in the controller, you just set the name from the Event Name field).
 https://youtu.be/0RiBxV49esc
Cameras


After we drag our QuickVPCamera into our Scene we will be able to set different camera angles and animation by using Sequencer.
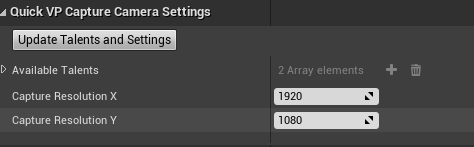
Fixed Camera Angles
This workflow is used to set different camera positions and settings as angles to be triggered from QuickVP
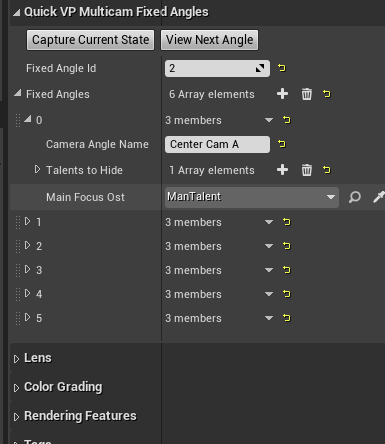
| Capture Current State | This button will capture the current QuickVP Camera position and camera settings and store in the Selected angle ID in Fixed Angle Id |
|---|---|
| View Next Angle | This will allow you to see the different available angles to re capture them or modify |
| Fixed Angle Id | This is used to set the angle that will be modified |
| Camera Angle Name | The name to be used to display on QuickVP |
| Talents To Hide | The talents that wont be visible in the current angle |
| Main Focus Ost | The main talent of this Camera Angle (Used to calculate distance to the TAA Workaround) |
Cine Camera Workflow
This workflow is used when you place multiple cinecamera actors in the scene and then set as different camera position for the main QuickVP Camera, and also to play Level sequence animation.

| Update Available Cine Camera Actors | Will take all available cine Cameras in the Scene and auto create an array with them so you just need to set the other parameters |
|---|---|
| Camera Name | The display name that goes to QuickVP |
| Sequence to Play | The level sequence that will be played when we trigger this camera Angle |
| Camera Actor | The Cine Camera Actor that the angle will be taken from |
| Talents To hide | The talents that will be hidden from this specific Camera Angle or Animation |
| Main Focus Ost | The main talent of this Camera Angle (Used to calculate distance to the TAA Workaround) |
Talents
Talents are use to display the greenscreen actors on the virtual environment, they are captured by the QuickVP Camera and processed to fix the TAA problem in Unreal Engine (Ghosting effect, blurred video), the workflow is not perfect and edges quality relies on overall chroma key used
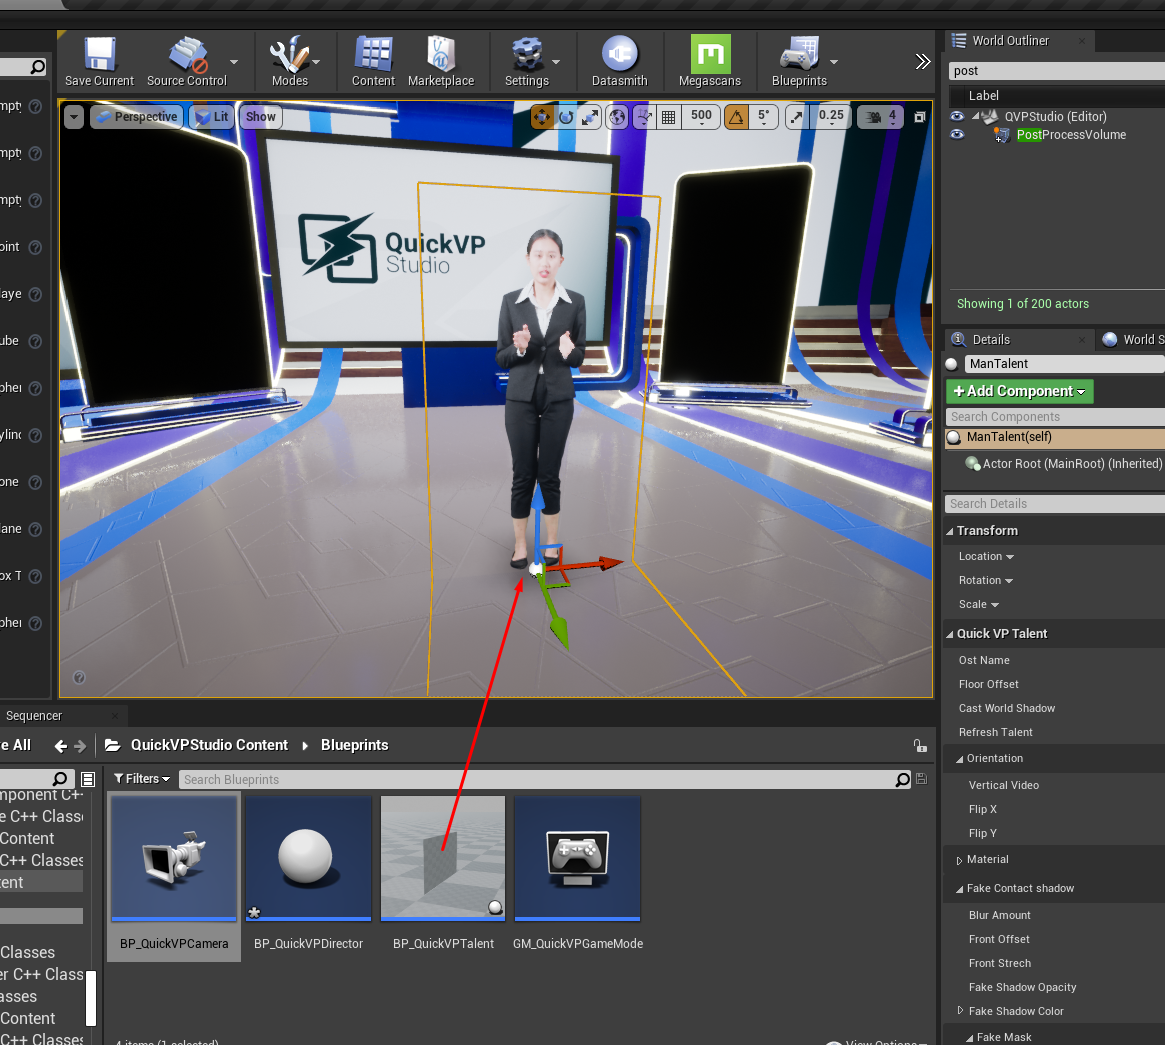
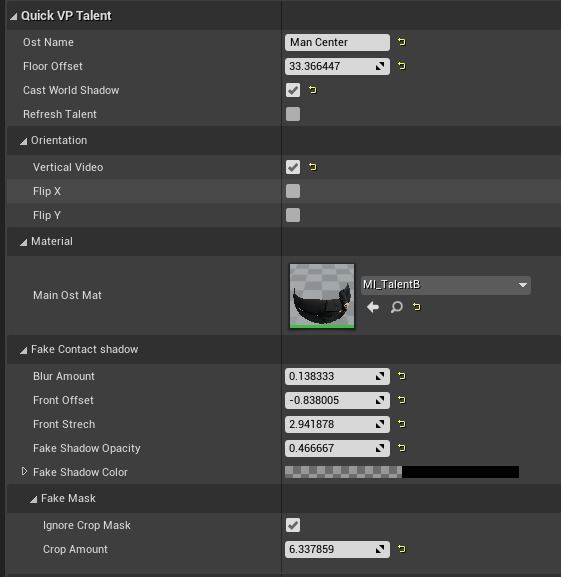
| Ost Name | The name that will be displayed on the controller in the talent Section |
|---|---|
| Floor offset | Since we need to keep the root in the floor we can use this to raise or lower the talent vertically |
| Cast World Shadow | Use this to enable the fake shadow and the virtual shadow generated by the level lightning |
| Refresh Talent | WE NEED TO CLICK THIS EVERYTIME WE OPEN THE PROJECT so the talent will refresh the fake shadow material and start the playback of the video |
| Orientation | From here we can set the video to vertical or keep it horizontal, also we can flip it in X and Y axis |
| Material | To select the main material that will be used by the talent |
| Fake contact Shadow | Here is where we configure the simulation of the fake floor shadow. |
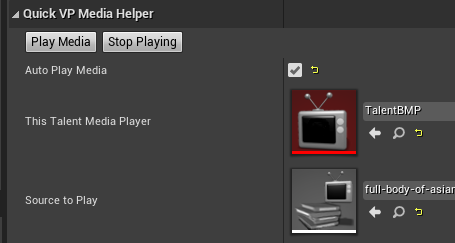
| Media Helper | From here we can set the media player and the source that we are going to play for this talent, so when we hit play it starts automatically |